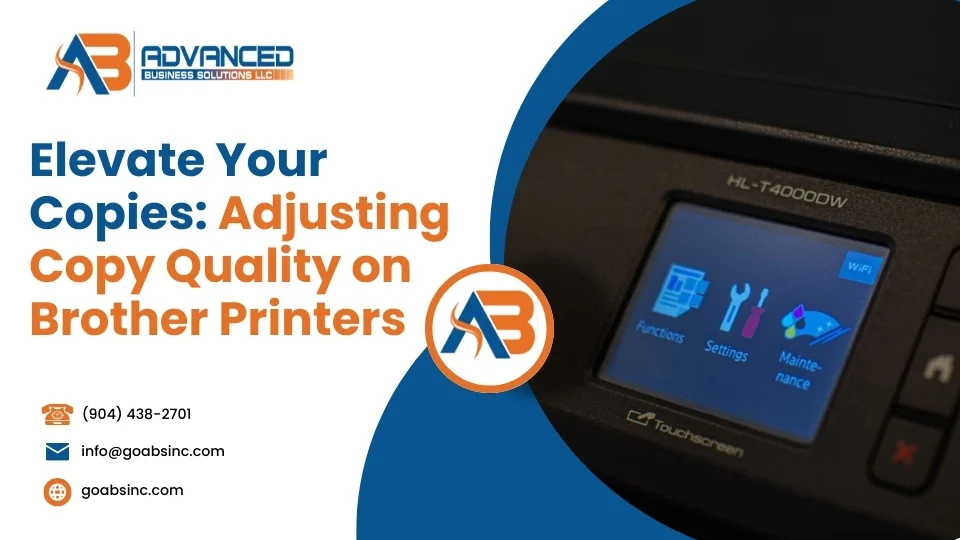
How to change copy quality on brother printer is a crucial skill for anyone looking to get the most out of their device. Whether you’re an office manager like Olivia, handling loads of paperwork, or simply someone who wants crisp and clear copies, mastering this feature is key. Here’s a quick and simple guide to get you started:
- Load your document.
- Press the COPY button.
- Select the desired quality: Fast, Normal, or Best.
- Start your copy job.
Brother printers are celebrated for their versatility and reliability. From text to photos, its settings enable users to adjust output quality based on document type. You’ll often find options like Auto for mixed media and Best for images, ensuring your copies meet your specific needs.
The ability to change copy quality doesn’t just cater to aesthetic preferences; it’s a practical tool for managing resources and print speed. Leveraging these settings can significantly improve productivity while maintaining high output quality.

Understanding Copy Quality Settings
Brother printers offer a variety of copy quality settings to suit different needs. Understanding these settings helps you choose the best option for your documents.
Fast, Normal, and Best
- Fast: Ideal for quick jobs and large documents. This setting saves ink and time, making it perfect for proofreading or when you need multiple copies quickly. It’s a favorite for office managers handling bulk tasks.
- Normal: This is the default setting on most Brother printers. It provides a balance between speed and quality, making it suitable for everyday documents.
- Best: Choose this when you need the finest detail, like for photographs or detailed images. It uses more ink and takes longer, but the results are worth it for high-quality prints.
Auto, Text, Photo, and Receipt
- Auto: Automatically adjusts settings for documents with both text and images. This is a great all-around choice when you’re unsure about the content type.
- Text: Optimized for documents with text only. It ensures clarity and sharpness, making it ideal for printing reports or letters.
- Photo: Improves the quality of images. Use this setting to get vibrant and detailed photo prints, similar to what you’d expect from a dedicated photo printer.
- Receipt: Custom for copying receipts. It adjusts the contrast and brightness to ensure all details are captured, which is handy for expense reports.

Each of these settings is designed to maximize the performance of your Brother printer while catering to specific document needs. By selecting the appropriate setting, you ensure that your copies are not only clear but also resource-efficient.
How to Change Copy Quality on Brother Printers
Changing the copy quality on your Brother printer is a straightforward process. Whether you’re aiming for speed, standard quality, or the best possible detail, Brother printers make it easy to adjust the settings to suit your needs.
Here’s a step-by-step guide to help you steer the copy quality settings:
Step 1: Press the COPY Key
Begin by pressing the COPY key on your Brother printer. This action activates the copy mode, preparing the printer to receive your next instructions.
Step 2: Select the Document Placement
Decide where to place your document:
- Use the Automatic Document Feeder (ADF) if you have multiple pages. Place them face up with the top edge first.
- For single pages, place the document face down on the flat scanner glass.
Step 3: Enter the Number of Copies
Using the dial pad, enter the number of copies you want to make. You can select up to 99 copies, which is handy for bulk tasks.
Step 4: Access the Quality Setting
Adjusting the copy quality is the next step. Use the UP or DOWN ARROW to find the Quality option on the display. Once found, press the QUALITY button.
Step 5: Choose Your Quality Setting
Now, choose the desired quality setting:
- Fast: For quick and economical copies. Perfect for drafts and large documents.
- Normal: The default setting, balancing speed and quality for everyday use.
- Best: For high-resolution copies, ideal for photographs or detailed images.
Step 6: Start Copying
Once your settings are in place, you’re ready to start copying. Press the BLACK START button for black and white copies or the COLOR START button for color copies.

By following these steps, you can easily adjust the copy quality on your Brother printer to match your specific needs. Whether you’re in a rush or require high-quality prints, these settings offer flexibility and control.
Next, we’ll explore how you can further refine your copies by adjusting additional settings like brightness, contrast, and density.
Adjusting Additional Copy Settings
Beyond just changing copy quality, your Brother printer allows for further adjustments to improve your copies. You can tweak Brightness, Contrast, and Density to get the perfect print every time.
Brightness
Brightness adjusts how light or dark your copies appear. This is useful if your original document is too light or too dark.
To adjust brightness:
- Press the COPY Key to activate copy mode.
- Place your document in the Automatic Document Feeder (ADF) or on the flat scanner glass.
- Use the OPTIONS or COPY OPTIONS key.
- Steer with the UP or DOWN ARROW to select Brightness.
- Adjust to your preferred level and press OK.
This setting is particularly handy for improving readability on documents with faint text or images.
Contrast
Contrast settings help make your copies sharper and more vivid by emphasizing differences between light and dark areas.
To adjust contrast:
- Press the COPY Key to enter copy mode.
- Place your document correctly in the ADF or on the scanner glass.
- Select Copy/Scan Options.
- Use the UP or DOWN ARROW to find Contrast.
- Adjust the contrast level to your liking and press OK.
Enhancing contrast is great for documents with mixed content, like text and images, ensuring all elements stand out clearly.
Density
Density affects the overall darkness of the copy, from light to dark. This can be crucial for documents that require precise shading or depth.
To adjust density:
- Press the COPY Key to start.
- Position your document in the ADF or on the scanner glass.
- Choose Copy/Scan Options from the menu.
- Use the UP or DOWN ARROW to select Density.
- Adjust from light to dark as needed, then press OK.
Fine-tuning density helps when copying documents with intricate details or when you need to match specific shading levels.
By mastering these settings, you can lift your copies to professional standards, ensuring clarity and precision with every print.
In the next section, we’ll tackle common copy quality issues and provide troubleshooting tips to keep your Brother printer running smoothly.
Troubleshooting Common Copy Quality Issues
Even with the best settings, you might encounter some issues with your Brother printer’s copy quality. Let’s address the most common culprits and their solutions.
Paper Type
The type of paper you use can significantly impact copy quality. If you’re unable to change the Copy Quality setting, it might be due to your Paper Type setting being incompatible. To resolve this, simply switch your paper type to Plain Paper:
- Press Menu on the control panel.
- Steer to General Setup using the UP or DOWN ARROW.
- Select Paper Type and press OK.
- Choose Plain Paper and confirm with OK.
- Exit by pressing Stop/Exit.
This adjustment often resolves issues where the Copy Quality setting is locked.
Genuine Brother Paper
For optimal results, it’s recommended to use Genuine Brother paper. This paper is specifically designed to work with Brother printers, ensuring consistent quality and performance. Using third-party papers can sometimes lead to subpar results, such as smudging or uneven color distribution.
Cleaning the Print Head
A dirty print head can cause streaks or faded areas in your copies. Regular cleaning can keep your printer in top condition:
- Access the printer’s maintenance menu by pressing Menu.
- Select Ink or Maintenance using the UP or DOWN ARROW.
- Choose Cleaning and press OK.
- Follow the on-screen instructions to complete the cleaning process.
Regular cleaning helps maintain your printer’s performance and prolongs its lifespan.
By addressing these common issues, you can ensure your Brother printer consistently delivers high-quality copies. In the next section, we’ll answer frequently asked questions about changing copy quality on Brother printers.
Frequently Asked Questions about Changing Copy Quality on Brother Printers
How do I change the copy quality on my Brother printer?
Changing the copy quality on your Brother printer is a breeze. Start by pressing the COPY key on your printer to illuminate it. This will allow you to access the Quality settings. From there, you can choose between Fast, Normal, or Best depending on your needs.
- Fast is great for quick copies with lower ink usage.
- Normal is the default setting and balances speed with quality.
- Best offers the highest resolution, perfect for detailed images.
Once you’ve made your choice, press OK and then Start to begin copying. These changes are temporary unless you save them as a default setting.
How can I improve the print resolution?
Boosting your print resolution involves tweaking some settings on your computer. Access the Printer Driver Property or Printing Preferences through your computer’s control panel. Here, you can adjust the print resolution to a higher DPI (dots per inch) for sharper images.
For even better results, ensure you’re using Genuine Brother paper and select the appropriate Paper Type setting. These adjustments can significantly improve your print quality.
What should I do if I can’t change the copy quality setting?
If you’re stuck on a specific copy quality setting and can’t seem to change it, the culprit might be your Paper Type setting. Brother printers often lock certain settings based on the paper type selected.
To fix this, switch your Paper Type to Plain Paper:
- Press Menu on your printer.
- Use the UP or DOWN ARROW to select General Setup.
- Choose Paper Type and press OK.
- Select Plain Paper and confirm with OK.
- Press Stop/Exit to finish.
Switching to plain paper often open ups the other copy quality options, allowing you to adjust them as needed.
By following these steps, you can easily manage and improve the copy quality on your Brother printer. Up next, we’ll dig into how Advanced Business Solutions can help you further improve your productivity with flexible leasing terms.
Conclusion
At Advanced Business Solutions, we’re committed to helping you achieve top-notch productivity with your Brother printers. Whether you’re in need of flexible leasing options or comprehensive IT solutions, our services are designed to meet your unique needs.
Our flexible leasing terms ensure that you have access to the latest printing technology without the hefty upfront costs. This allows you to focus on what really matters—enhancing your business operations. Plus, with automatic supply restocking, you’ll never have to worry about running out of essential supplies.
By choosing Advanced Business Solutions, you’re not just getting a printer—you’re gaining a partner dedicated to optimizing your document management and printing systems. Our expertise in printing systems and document management means we’re well-equipped to support your business, no matter the size or industry.
Explore our services and see how we can lift your office productivity. Learn more about our offerings here.


Comments are closed